Welcome to the Spyro Wiki's new home world!
Feel free to rewrite and expand the articles and upload images that are missing.
The Destroyer/Gallery: Difference between revisions
From the Spyro Wiki, the Spyro and Skylanders encyclopedia
No edit summary |
No edit summary |
||
| Line 3: | Line 3: | ||
==Artwork== | ==Artwork== | ||
<gallery> | <gallery> | ||
Dam Spyro Destroyer Moles.jpg | Dam Spyro Destroyer Moles Art.jpg | ||
Golem 07.jpg | Dam Destroyer Concept Art.jpg | ||
Golem 07.jpg | |||
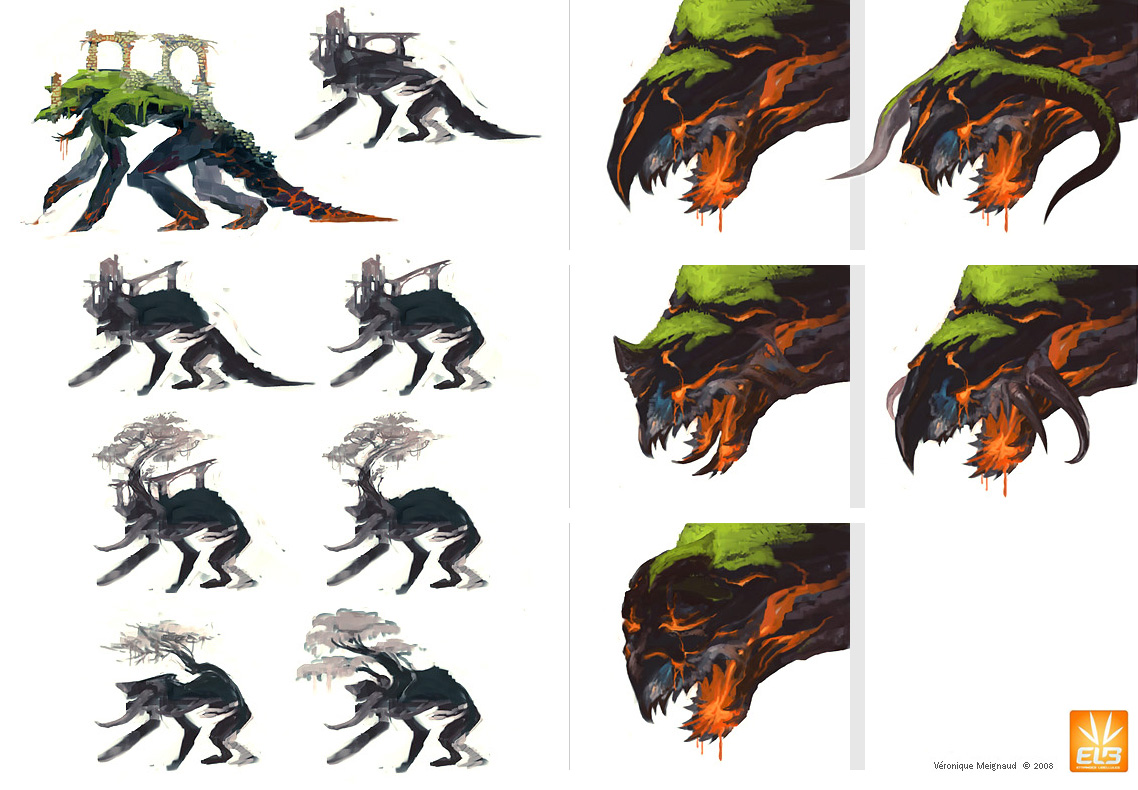
Golem 01.jpg|Concept art of the Destroyer by [https://www.artstation.com/artwork/dkRX Veronique Meignaud] | Golem 01.jpg|Concept art of the Destroyer by [https://www.artstation.com/artwork/dkRX Veronique Meignaud] | ||
Destroyer references.png | Destroyer references.png | ||
Revision as of 09:34, May 5, 2025
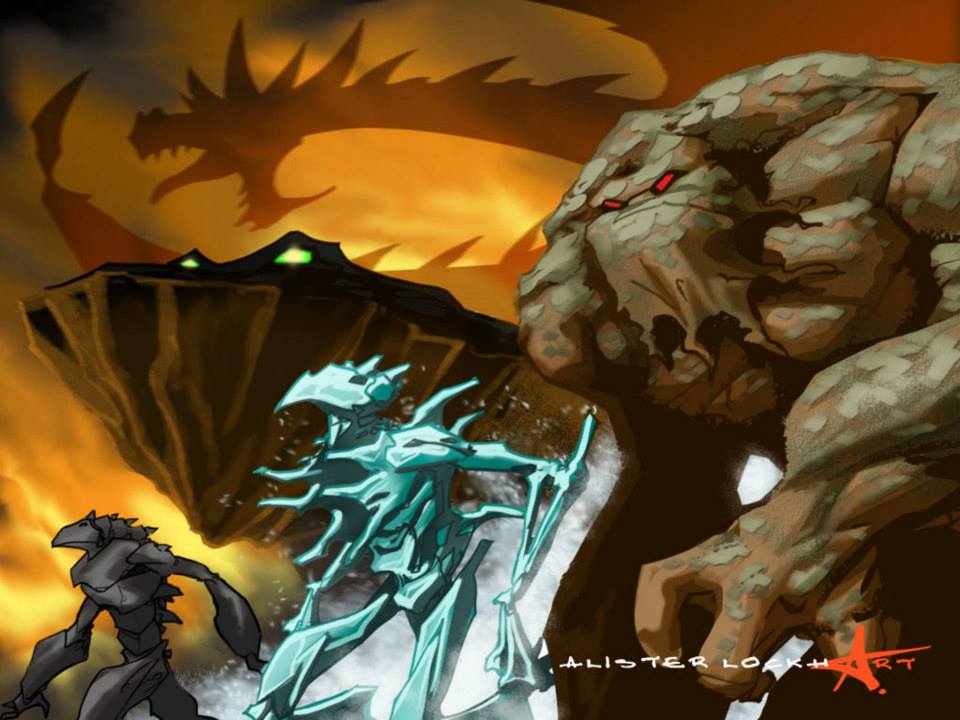
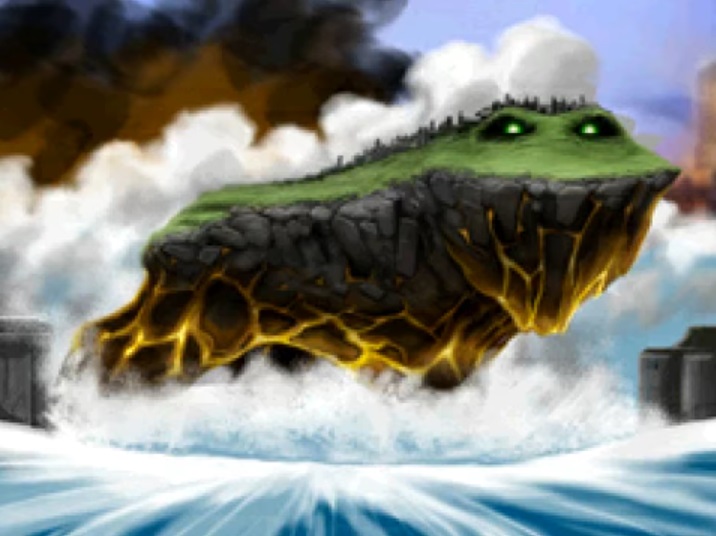
Image gallery pertaining to The Destroyer in The Legend of Spyro: Dawn of the Dragon.
Artwork
-

-
-
-
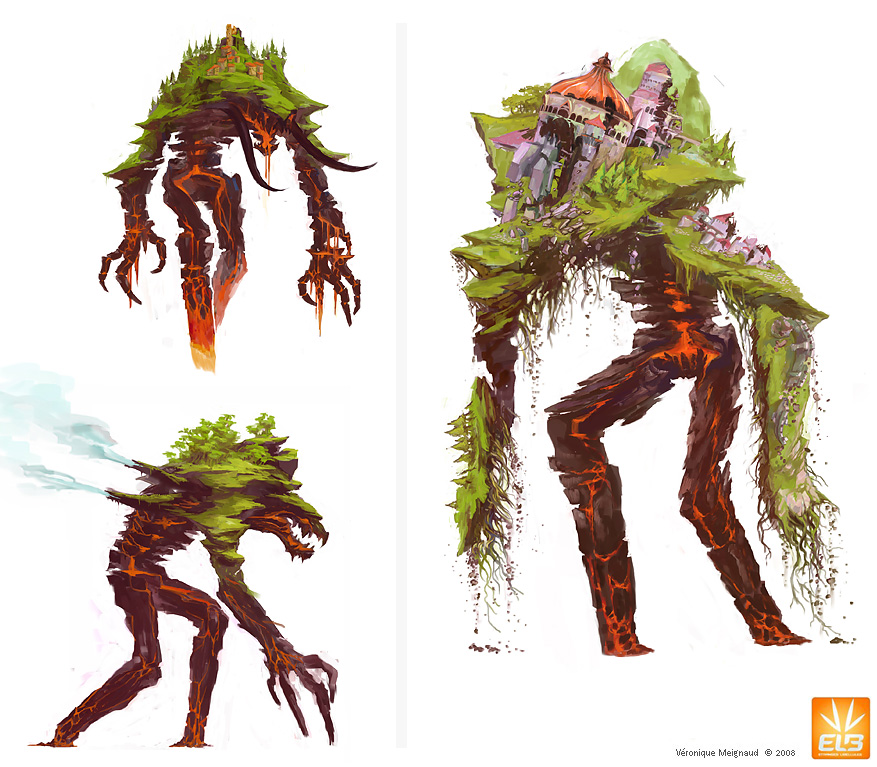 Concept art of the Destroyer by Veronique Meignaud
 -
-
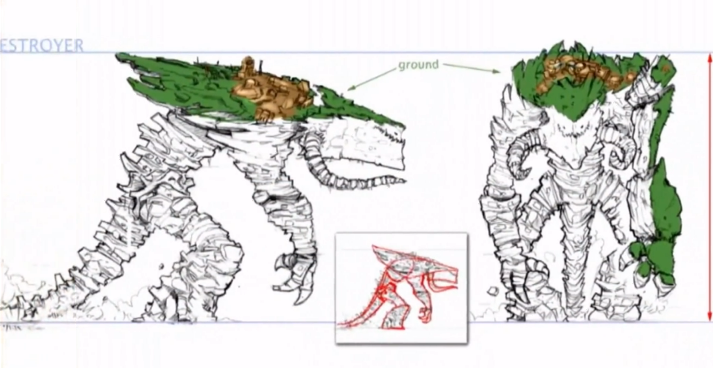
 Concept art of the Destroyer's final design


Screenshots
The Legend of Spyro: Dawn of the Dragon
-
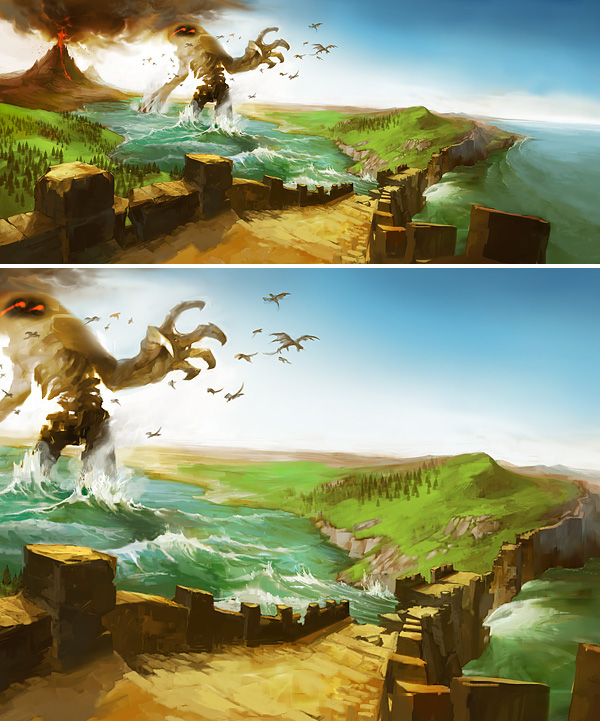
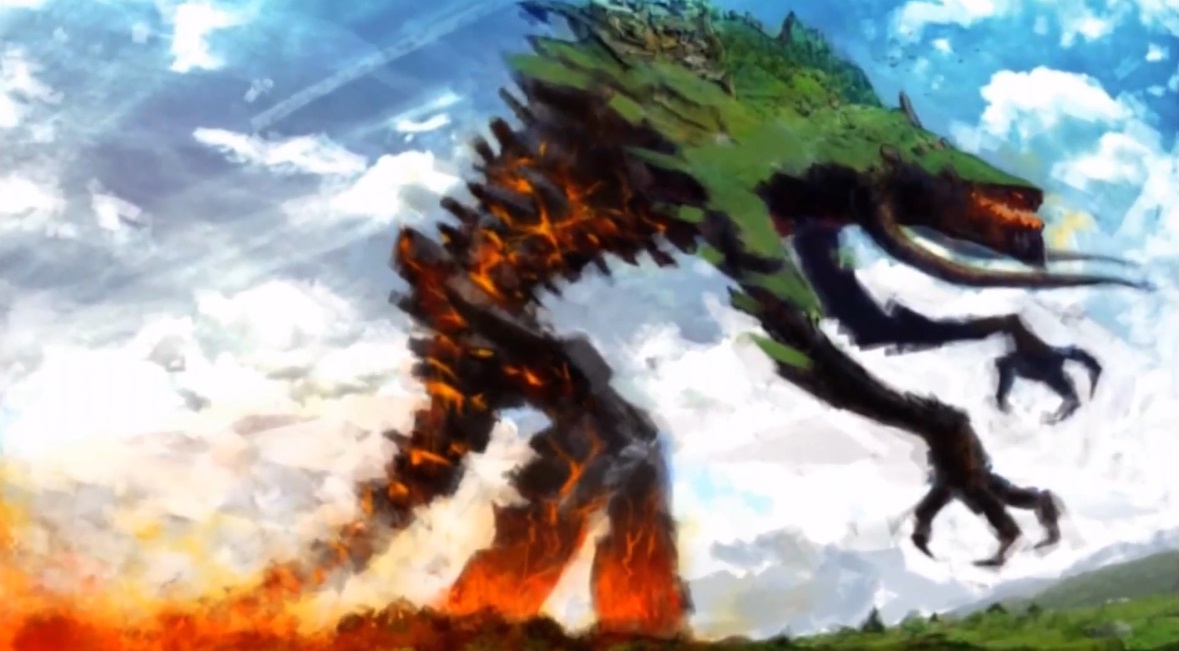
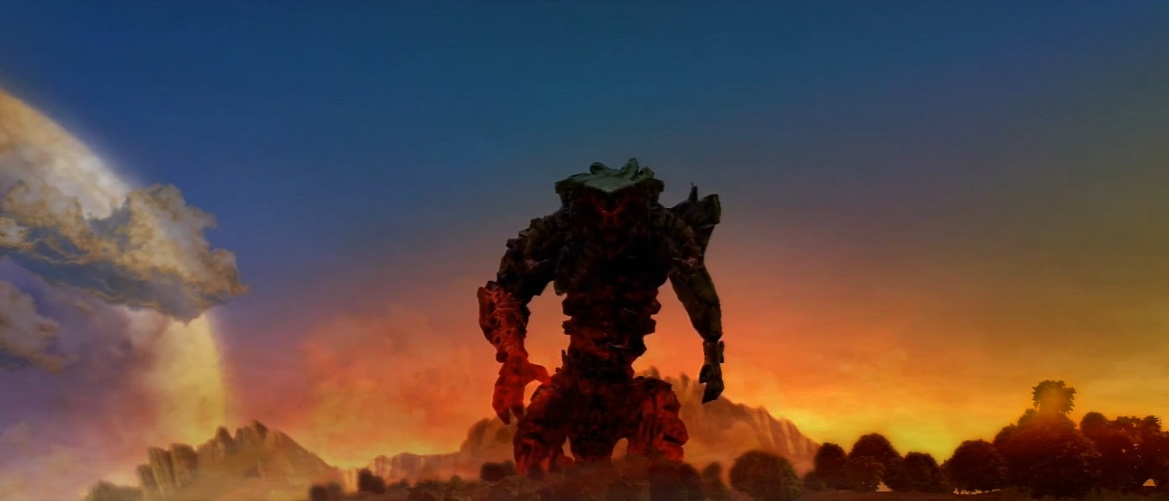
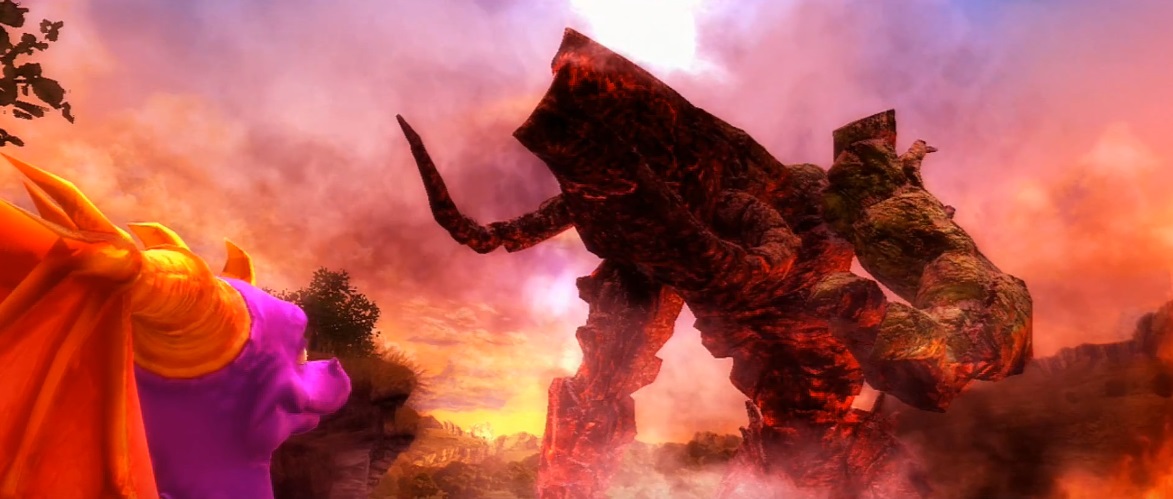
 The Destroyer having awakened
 -
-
-
-
-
-
-
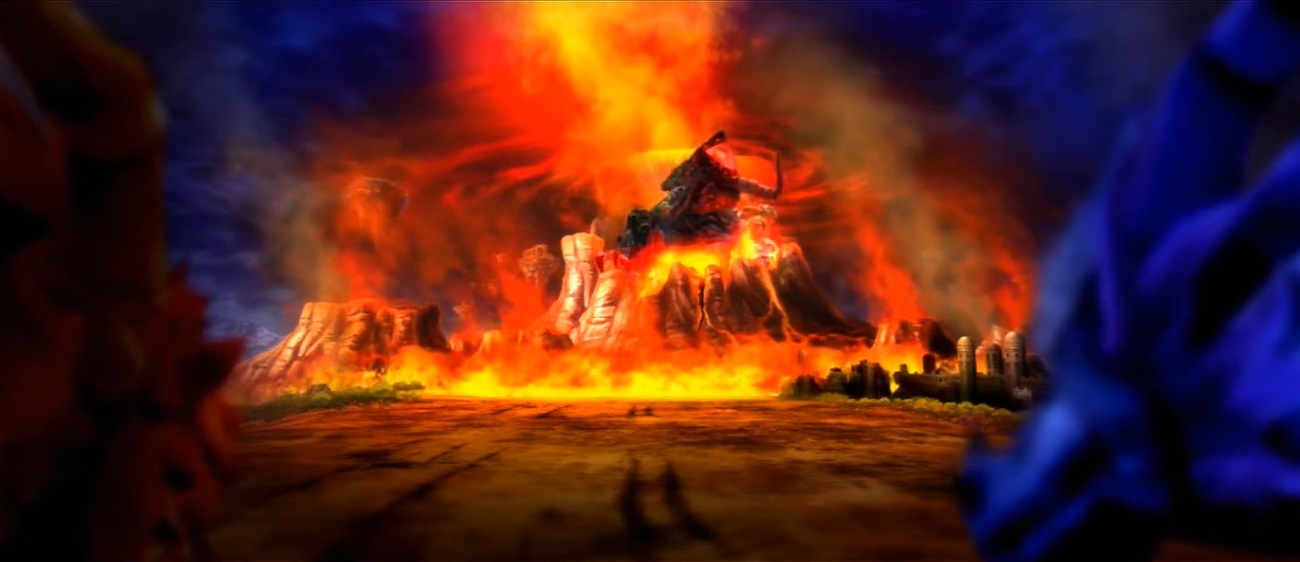
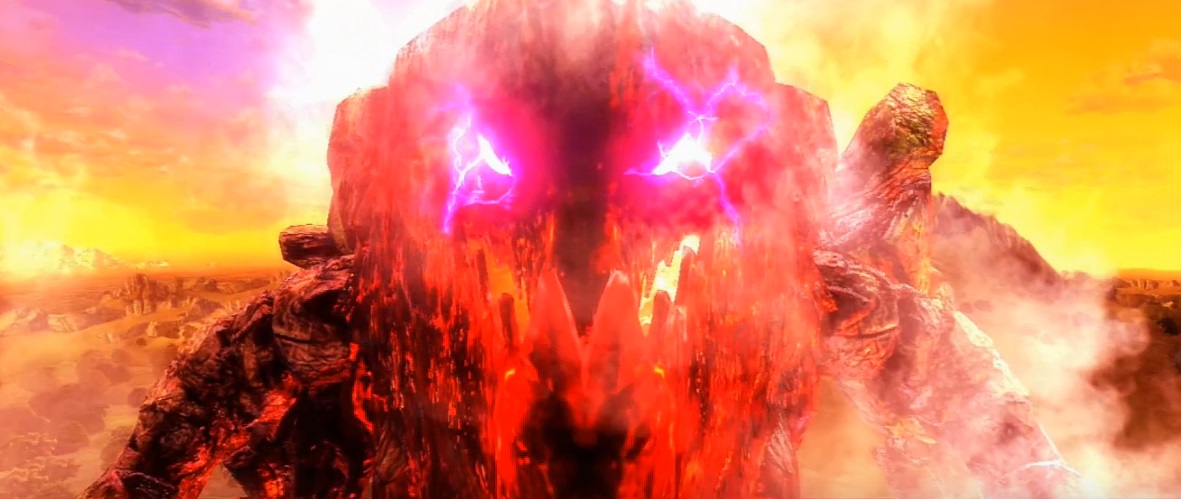 The Destroyer being reanimated by Malefor's dark magic
 -
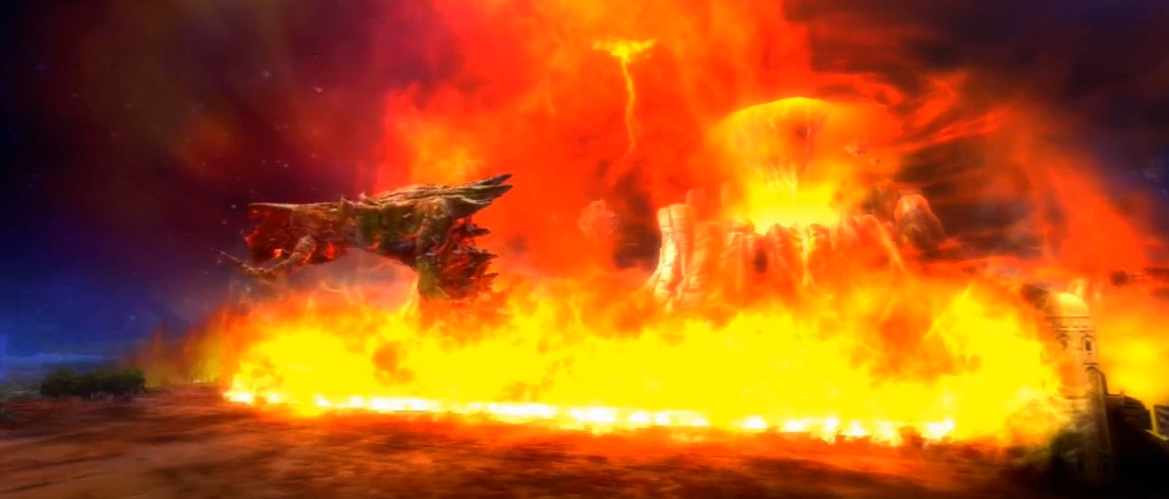
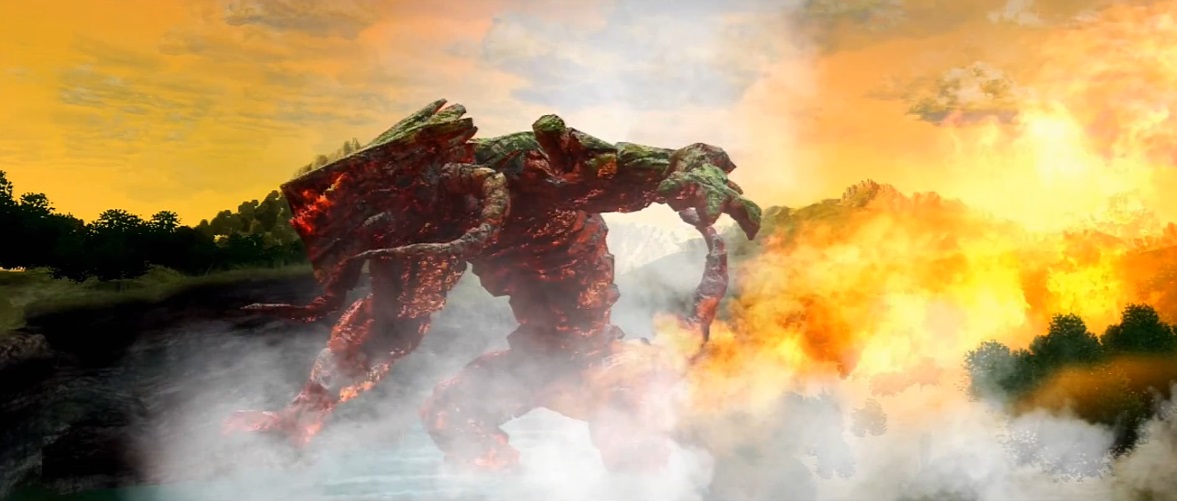
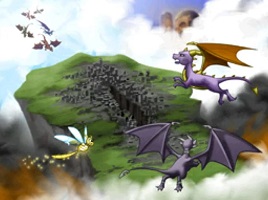
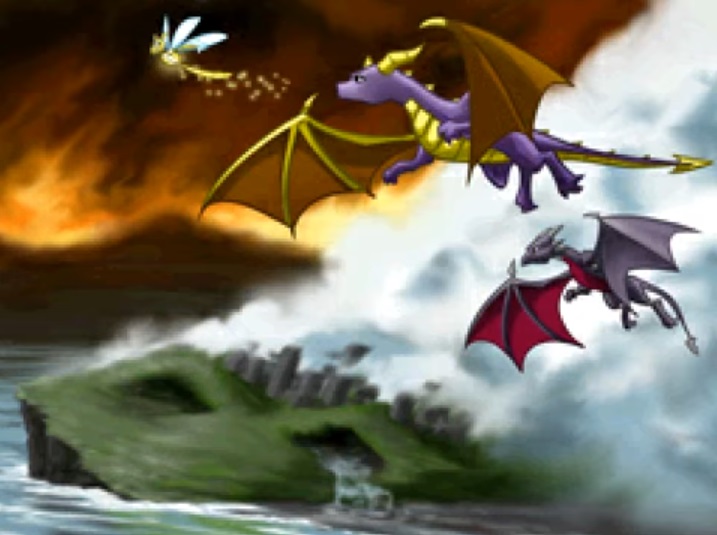
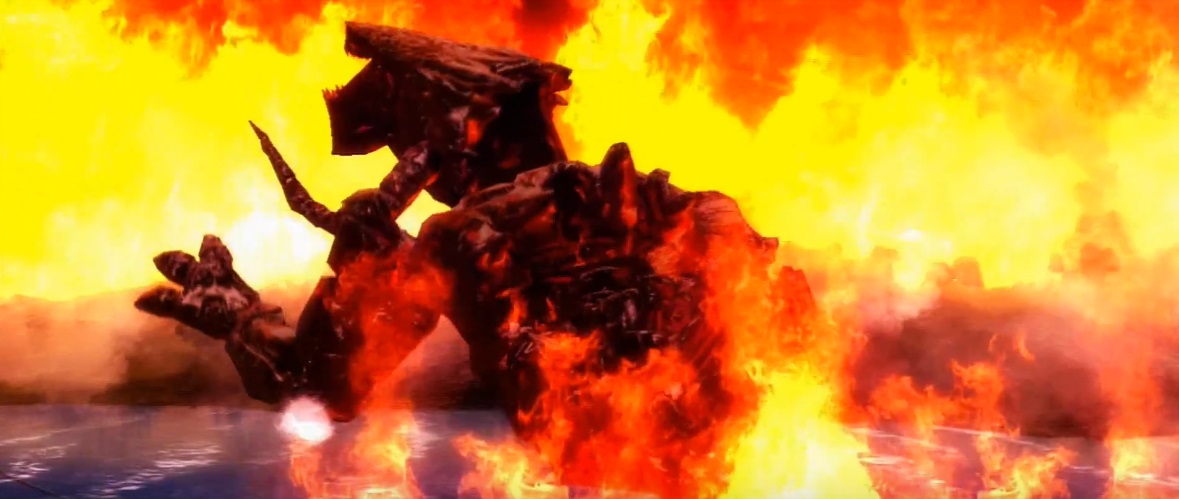 The Destroyer, despite the loss of its lower half, manages to cross the Belt of Fire


DS Version
-
 The Destroyer as depicted in the Nintendo DS version of Dawn of the Dragon
 -
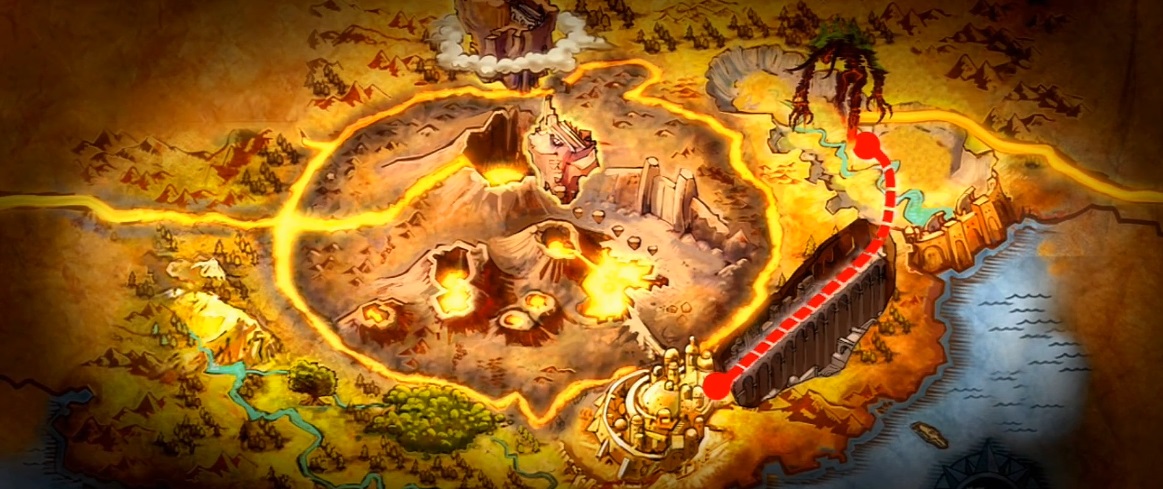
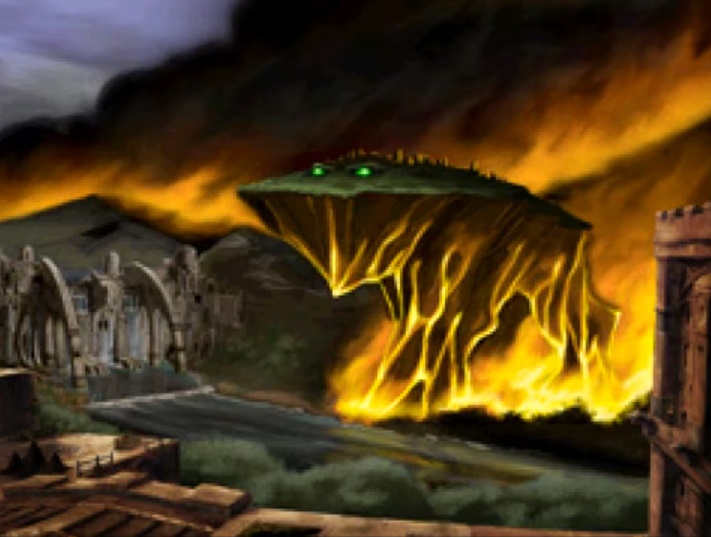 The Destroyer making its way towards the City in the DS version of Dawn of the Dragon
 -
 The water from the Dam slows down the Destroyer's progress in the DS version of Dawn of the Dragon
 -
-
 The body of the Destroyer sinking into the water after its crystal heart is destroyed
 -